
Getting started out in the fitness world can be a daunting challenge. Sure there’s a lot of information online via Reddit, YouTube or just general Google searches. But how do you know that what you’re selecting is right for you if you’re a beginner? No-one wants to waste lots of money on gym memberships or expensive at home programs if they might not even be able to complete the exercise routines. If you’re looking for a simple, effective starter plan that will help you strengthen your body without a lot of expense, then you’ve found the right place. If you’re further along on your fitness journey, then this may not be the best place for you, but it may remind you of some important core principles you might be skipping over too, so novice or expert, I invite you to read along.
And stick with me on this one, It’s a long post with a lot of information before we get to the actual workouts, but this is all to make sure you’re maximizing your results. It doesn’t do you any good to put in the hard work but not see the results you’re after! If you’re serious, then this can be a GREAT start to your fitness journey.
Before Starting On This Path
Disclaimer:
Be smart about this – the exercises provided by brain.body.food. (and brainbodyfoodblog.com) are for educational and entertainment purposes only, and is not to be interpreted as a recommendation for a specific treatment plan, product, or course of action. Exercise is not without its risks, and this or any other exercise program may result in injury. They include but are not limited to: risk of injury, aggravation of a pre-existing condition, or adverse effect of over-exertion such as muscle strain, abnormal blood pressure, fainting, disorders of heartbeat, and very rare instances of heart attack. To reduce the risk of injury, before beginning this or any exercise program, please consult a healthcare provider for appropriate exercise prescription and safety precautions. The exercise instruction and advice presented are in no way intended as a substitute for medical consultation. The author (and brainbodyfoodblog.com) disclaims any liability from and in connection with this program. As with any exercise program, if at any point during your workout you begin to feel faint, dizzy, or have physical discomfort, you should stop immediately and consult a physician. Please read my full disclaimer here.
First of all, let’s get one thing straight. This isn’t a magic bullet or quick fix pill. You’re starting something that requires discipline, and is a long term project – meaning you’re not going to see results overnight. This is a process that will gradually change your body, but the results to your health and the way that you look are worth it! Don’t get discouraged if you don’t see visible results after the first couple of weeks, they’re happening, they just might be occurring under the layer of fluffiness you might be carrying around. Also, these changes are gradual, so you might not see them over a day to day examination of your body so I highly encourage you to take part in step 1:
Step 1:
Take a few before pics. Ideally, a close friend or parent can snap a few photos of you showing as much skin as you’re comfortable showing. I know it may seem silly, but these photos are snapshots in time that will help tremendously when you’re examining yourself over the next few months, wondering if any changes are taking place. They will be invaluable tools to compare where you were, to where you are now. Also, if you find the great success that you’re capable of, these photos will be pride points that you can certainly share with others to help inspire them on their own paths.
So what sort of pics are we talking about? You want to make sure you have decent lighting, and remember where you took them, because that’s where you should take all of your progress pics – in the same lighting etc. That way, the photos are honest comparisons. You’ll want to take a few different photos. The first should be straight on, standing with your arms at your sides, facing the camera. A second should be the same pose, but facing away from the camera – showing your back. The third should be forward facing again, but three quarters view (one shoulder slightly ahead of the other) but this time (silly as you’ll feel) do your best to strike a muscle pose showing your biceps muscles (the muscles in your upper arms). Trust me, you’ll feel ridiculous taking these pics (I know I did!) but they’ll be so helpful in helping you see your progress down the road.
Step 2:
Print out the attached PDF and let’s get some additional metrics! Hop on a scale and see how much you weigh. Write down this number next to weight in the ‘Day 0’ space. Next, measure your body and write those measurements down in their corresponding boxes under the ‘Day 0’ space.
Measuring Process:
Using a tailors tape (pro tip: if you don’t have one, use a piece of string, take the measurement, and then compare the measurement to a ruler or yardstick) measure the indicated body part by wrapping the tape (or string) around the area we’re measuring and write down that measurement in the box above under the appropriate day.
Now that you’ve written down those numbers and taken your before photos, you have a good idea of where you’re starting. While these first two steps CAN be ignored, PLEASE DON’T. If you stick with this and see the results you’re hoping for, you’ll be so glad that you did this simple (yet kinda embarrassingly silly) step!
Step 3:
This next step is really an ongoing thing, and that’s attitude. Look, as I said at the outset, what you’re undertaking is hard. Lifting weights is tough work. They’re heavy, it’s going to make your muscles sore for a few days after a good workout, and it might even be frustrating. There may be times where there’s something on your workout sheet that you’re supposed to do that you might hate, it might be difficult for you to do. THAT’S OK! Do your best, push yourself, and not only will it get easier, but you’ll get better at it. Remember, it’s in the struggle that things change, so reframe that difficulty in your mind to represent something that’s helping you achieve your goals, not something that you hate to do. Don’t skip an exercise because it’s hard or because you don’t like it, you’ll only be penalizing yourself. Change your “Oh, I can’t do that!” to “Wow, that’s really tough, but I’ll do my best.” As long as you’re giving 100%, then you will see change – Something is ALWAYS better than NOTHING.

Step 4:
Tell people what you’re doing! Don’t be that obnoxious friend that can’t stop talking about fitness, but let your friends and family know what you’re doing. For some people this can be the hardest step. They’ll think “But if I tell people what I’m doing, and then I don’t do it, or I don’t see results, they’ll know I failed.” That’s exactly right, and that’s exactly why you should tell people. It’s called accountability, and it will help you when you really don’t feel like doing that workout, or you really want to cheat on your meal plan and have something that you know is bad for you. Accountability will push you to push yourself. In fact, while certainly not mandatory, see if you can get a friend to do this with you, nothing pushes you harder than feeling like you’re letting a close friend down by not showing up for a workout, or cheating on your meal plan when you know they’re sticking to theirs.
Nutrition Crash Course
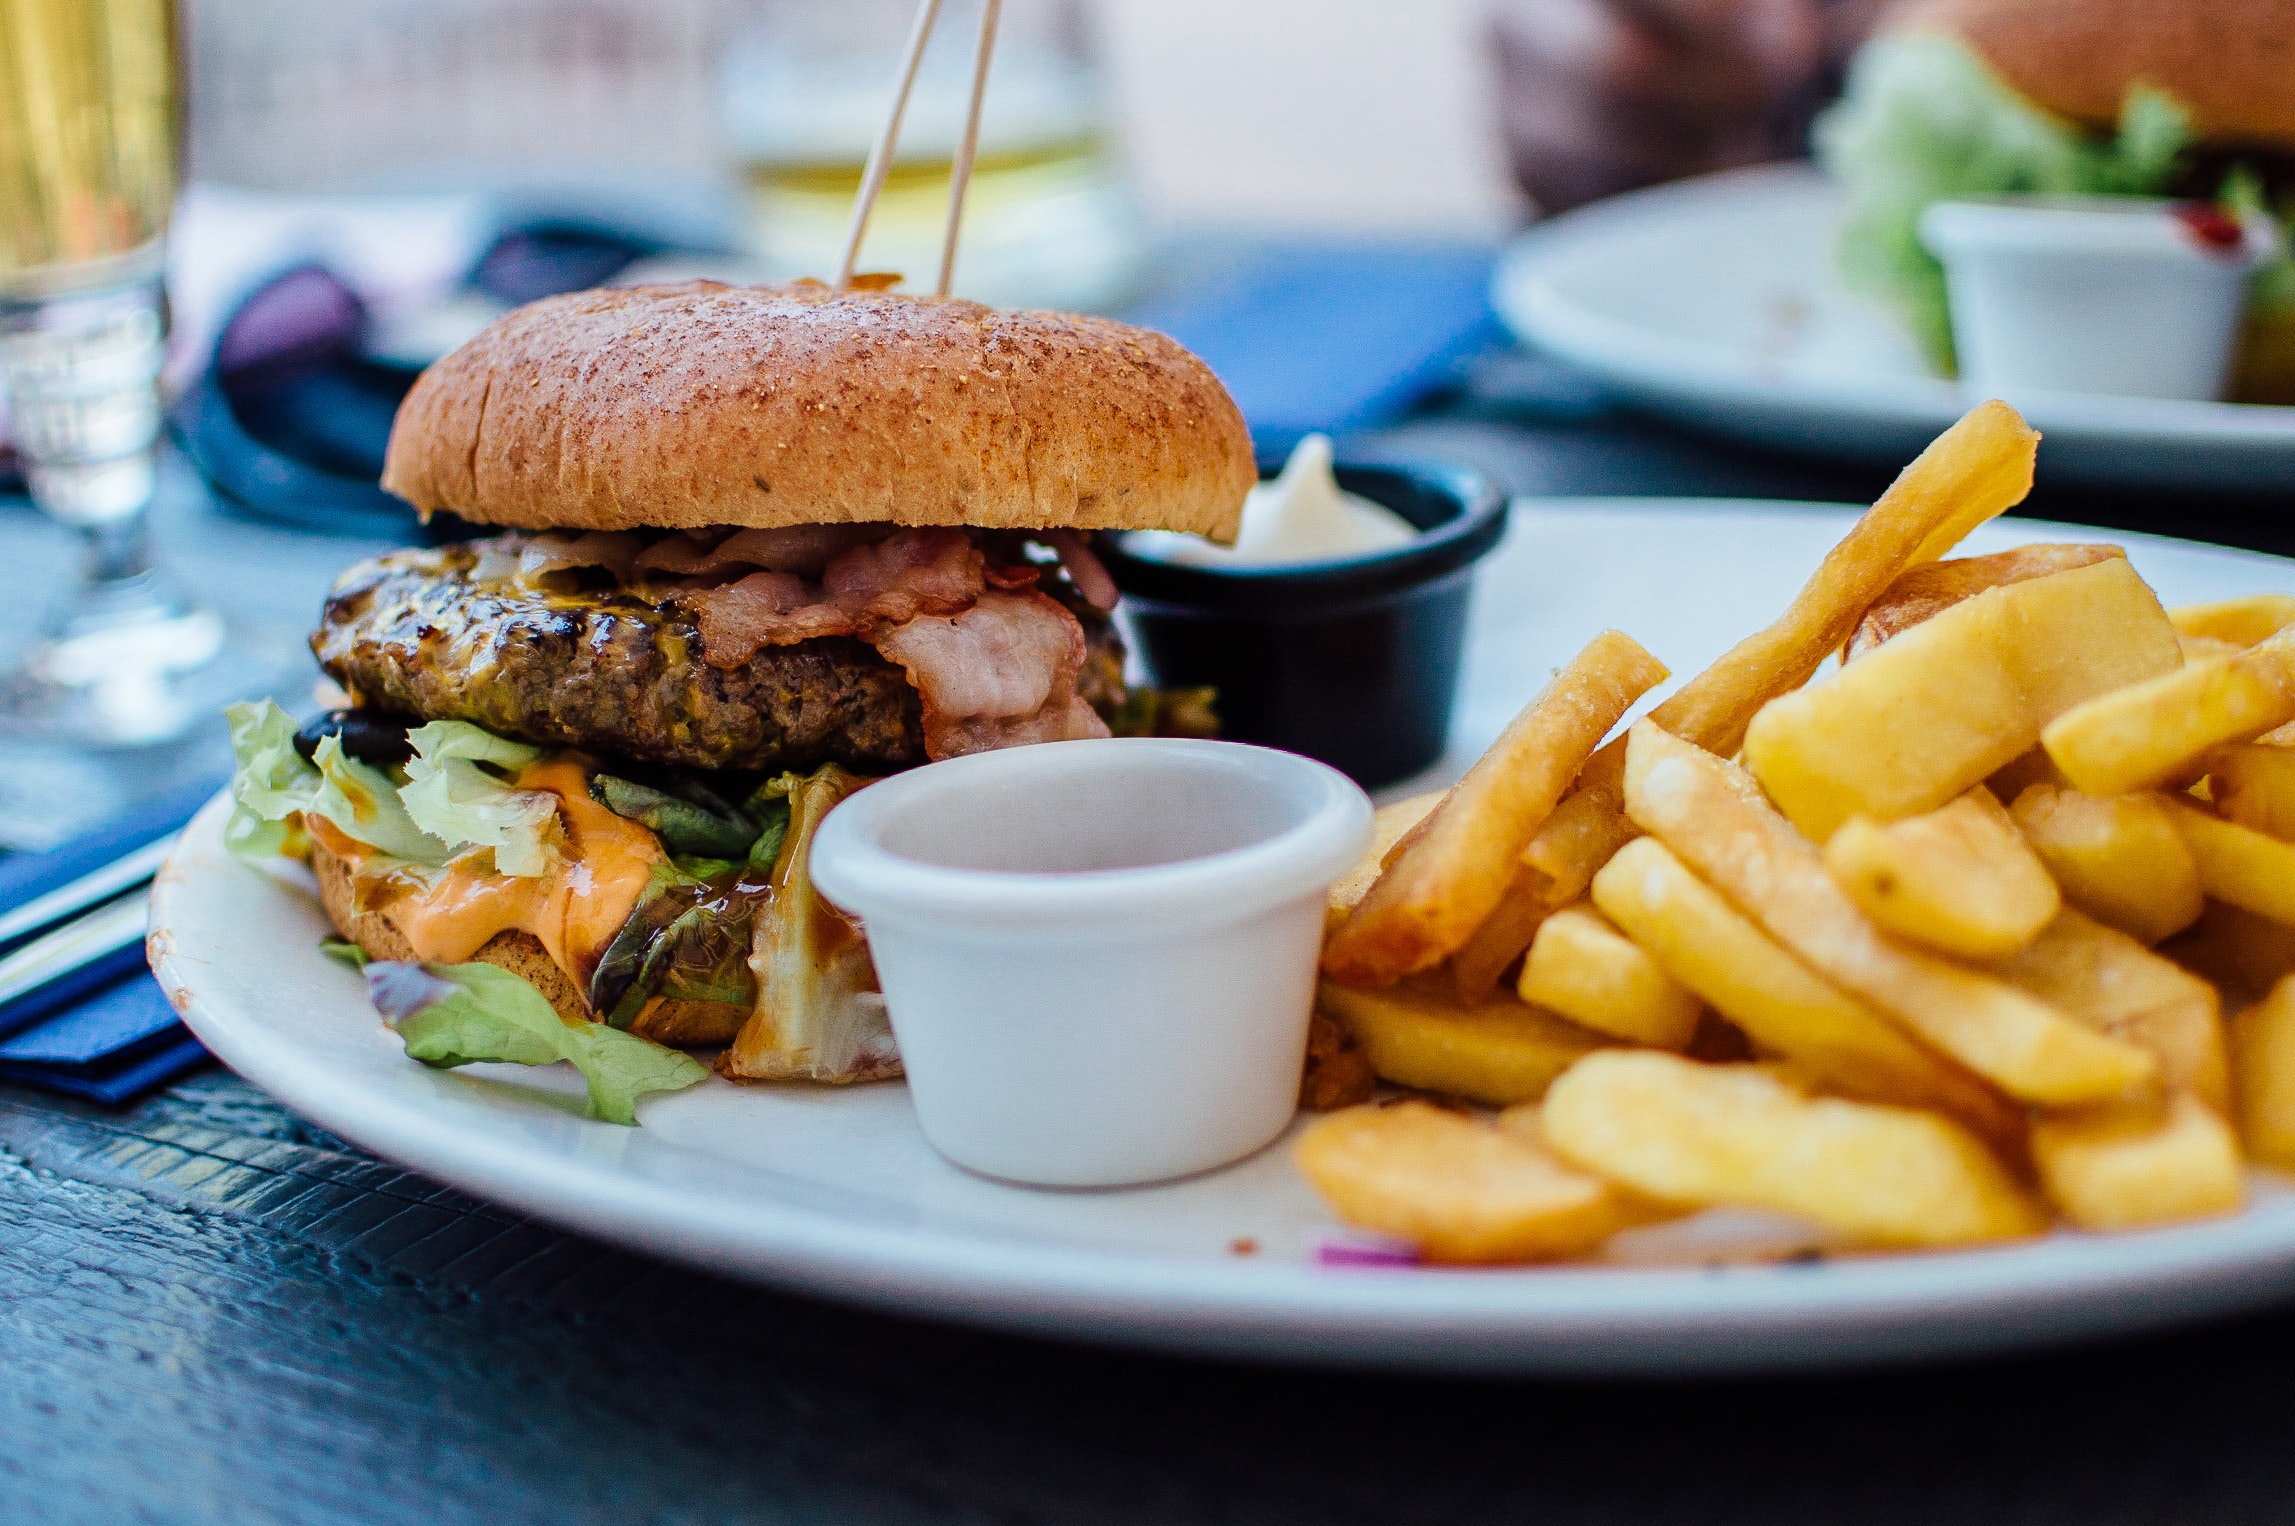
OK, this is the part that most people HATE, but stick with me through this, because you can’t out-train a bad fork. You’re probably going to have to change the way that you’re eating if you want to see results from the hard work that you’re going to be putting in. In fairness, you could write an entire book on eating properly to maximize results of a workout, or losing weight – in fact, there are PLENTY out there. I highly encourage you to learn more about this topic, but I’m going to fly through some tips to help you figure out what you should be doing to eat right, how much to eat, and what foods to avoid to get you started on the path. This is after all, a beginners guide!
Macros
If you start learning more about fitness, you’ll undoubtedly run into this term. Macros – or macronutrients – refer to the 3 things that pretty much all food is made of – proteins, carbohydrates and fats. Your body needs all 3 to function properly, but in different ratios. If you want to learn more about macronutrients, I wrote fairly a fairly extensive post about Macronutrients and what they do for your body, you can check it out here. For our purposes though, you’ll want to make sure you’re feeding your body lots of lean protein, and healthy carbohydrates while undertaking this workout program.
Protein
Protein is the building block of muscle fibers, and it will help your body to recover after working out. So what is lean protein? Here’s a brief list:
- Egg Whites
- Skinless, White Meat Poultry (Chicken or turkey breast)
- White Fish
- Lean Beef
- Pork Loin
- Plain Greek Yogurt (No sugar – you want sweet? Add fresh fruit)
- Beans or lentils
- Low-Fat Cottage Cheese
- Low-Fat Milk
- Peanut Butter (In moderation, this can be a calorie hog)

Carbohydrates
In addition to protein, your body is going to need a lot of energy to get through tough workouts, so that means you’ll need a fair amount of carbohydrates. These can be broken down into two types, simple and complex carbs, you’ll want to consume complex carbs, in fact, most of your diet should come from complex carbs according to the USDA (again, see my macros blog post if you want details). So what is a complex carb? In a word, vegetables. Fruits fall into this category as well, but you’ll want to focus on vegetables for the most part. As a general rule of thumb, if you look at your plate, about half of it should be vegetables (complex carbs) of some sort, 1/4 should be a protein, and the other 1/4 can be a healthy fat source (we’ll get to those in a minute though).
So what are some examples of complex carbs?
- Sweet Potatoes
- Leafy Green Vegetables
- Colorful veggies like Peppers, beets, carrots etc (these last 2 combine to give us salad)
- Beans and lentils (Double day as a protein AND a carb!)
- Quinoa
- Brown Rice
- Squash
- Bananas and whole fruits
- Oats (whole oats – not the little sugar bomb’s in the breakfast aisle at the store)
Fats
Lastly are the healthy fats, they should make up the least of your diet because they are generally the highest in calories (2 to 1 over proteins and carbs), but they’re an essential part of a healthy diet, and aid in recovery. Healthy fats assist with cellular repair and building, and in spite of the bad rap that fats get, need to be part of your diet. some examples of healthy fats are:
- Avocado
- Nuts and Nut Butters
- Olives
- Olive Oil
- Salmon
- Tuna
- Dark Chocolate
- Tofu
- Edamame
- Sunflower Seeds
These food lists are in NO WAY comprehensive, you may want to do a little online research to find other foods that fall into the healthy high protein / healthy carb / healthy fat buckets to give yourself some variety. In fact, I highly suggest you do so, variety will ensure that this doesn’t become boring and will help you to continue eating clean.
Things To Watch Out For Or Cut Out
This is the part that may be toughest. Certain foods are addicting, and we crave them at first when giving them up, or even trying to minimize them in our diets, but they’re not doing you any favors, may actually be harming your body and certainly can hinder your results. As a brief list, try your best to avoid or at least minimize the following food types:
- Anything fried. even if it claims to be in healthy oils. Fried foods can be loaded with saturated fats which are hard on your body, and generally high calorie items.
- Items with a high quantity of sugar in them. Unfortunately, this means most sweets, but beware of sauces as well. When in doubt, look at the label on the back of a packaged food item. Under the carbohydrates listing, they list sugars, every 4 grams of sugar is equal to one heaping teaspoon. According to the USDA, men should only be consuming 9 teaspoons per day, and women should only be consuming 6. Sugar is added and hidden in a LOT of foods, be careful!
- Going out to eat. Following the above guide will help if you go out to eat, but eating out is like eating a nutrition bomb – you simply don’t know what you’re getting. Even if the calories are listed on the menu, the amounts of sugar, sodium and fats are a mystery. This isn’t always realistic, so if you do find yourself in a position where you’re eating out, be smart, do your best to stick to your plan, and then forget about it and enjoy yourself – just don’t go overboard and fall off the fitness wagon!
- Cheese. Although a decent source of protein, most cheeses are high calorie and can easily add up when added to things like salads. Minimize them, or avoid them if you’re not sure.
- Salad Dressings. These can be the difference between your salad being a healthy choice and “gee, maybe the burger would have been lower calorie”. I’m not kidding here. It’s easy to dump a lot of salad dressing on an otherwise healthy salad, adding fats and calories that add up quickly. I’m a notorious lover of sauces on my foods, but ask for them on the side, and use them sparingly to make sure they’re only adding some flavor, not a bunch of calories that you don’t want!
How Much Should I Be Eating?
OK, this one is a bit tricky because each persons caloric needs are different depending on their age, size, metabolism and goals. I would highly recommend getting an app like “MyFitnessPal”, “LifeSum” or something similar that helps you to track how many calories you’re consuming. Most of these apps will calculate how much you should be eating per day, and will factor in the above mentioned variables. Just make sure that the calories you’re consuming are coming from the macros we outlined above.
One tip I will throw your way are a few visual cues to help you determine correct portion sizes. A lot of this information is found for you on the labels of the foods you buy, but for things like lean proteins and leafy greens, there may not be a serving amount listed, so for reference:
- A closed fist (or tennis ball) is about the size of one cup
- A thumb (or tube of lip balm) is about one ounce of meat or cheese
- The palm of your hand – or about the size of a deck of playing cards is a 3 ounce portion of meat
- A fingertip is about one teaspoon
- The tip of your thumb is about a tablespoon
These are average portion sizes and may seem smaller than what you’re used to. In the US, the “portions” we are fed when we go out are ridiculously oversized. If you’re from the US and are overweight and are just now learning about a proper portion size, this might be an “aha” moment for you.
These sizes may seem small, but remember, you’re eating healthy now, and healthy foods – like leafy greens – are packed with fiber, which helps you to feel full longer. So even though you might be eating less, you may not feel as hungry as you’d think.
One Last Thing Before We Get To Work
Hydrate hydrate hydrate! Water is your friend. If you are a human being reading this, you are composed primarily of water (55 – 65% in fact). So water is your best friend, it will help you to feel full, it’s great for your skin, and you need it to live. You should be drinking around 64 ounces of water per day to stay properly hydrated, and if you do, it will help greatly with sore muscles and a whole host of other things (I may do a post about the benefits of water down the road – leave a comment if this is something you’d like to see). So drink up my friend!
Again, this is a serious crash course in proper eating solely to assist a beginner without overwhelming them, I know I’m leaving a LOT out, but I think this is a good start on the path to a good fitness plan.
OK, Let’s Get To Work!
I’m going to write the fitness plan portion of this for someone who has never worked out before and may not have a lot of equipment. I strongly suggest investing in some variable weight dumbbells, or at least some resistance bands to expand your home gym options. Better still, signing up for a gym membership will let you really take this seriously in the long run! Following the below program should help you get stronger and burn off a few pounds – if you’re following the nutrition guide and eating properly while running the program.
Our format will be a five day a week exercise program – back to back days with weekends off to recover. This may sound aggressive, but we’re working in cardiovascular exercise and stretching as well to give your muscles a break while you’re exercising other areas of your fitness. We’ll structure the workouts like this:
- Monday: Resistance – Chest & Biceps
- Tuesday: Cardio
- Wednesday: Resistance – Back and Triceps
- Thursday: Flexibility
- Friday: Resistance – Legs
Each workout should take you around 30 – 45 minutes to complete (some a little less), and should not be performed quickly. Speed increases your likelihood of injury and lessens the effectiveness of the exercises. It may make the movements easier, but that’s not doing you any favors – it’s supposed to be difficult. If as you progress, these workouts begin to become easy, feel free to do them twice a day, or up your repetitions.
Each exercise in the outline below contains either a video link, or a description detailing how to perform it properly (unless it’s something very basic like toe touches). Please take a little time to learn how to do this right. It’s going to help you maximize your results, and also help keep you from injuring yourself.
Each workout will follow the format of a 3-5 minute warm up / stretch, 20 – 30 minutes of exercise and 3-5 minutes of cool down followed by 15 minutes of core work (stomach, obliques (sides) and lower back strengthening).
You’ll also want some sort of stopwatch or timer (if you have a smartphone, the timer there works GREAT) so you know how long to perform each movement for.
A note about dynamic tension:
You’ll notice in a few places in the program a reference to “dynamic tension”. The concept of dynamic tension is the idea of using your body’s strength against it as a training aid. It’s how we’re going to perform some of the exercises in the program in lieu of barbells or weights. The video links may show the exercise using weights, it’s OK if you don’t have them, simply replace the weight with a towel, and remember the following:
- hold one end in each hand, space the hands about shoulder width apart.
- pull the hands tightly away from one another (toward the outside of the body) creating tension in the towel, and causing the muscles to pull hard on the towel.
- Maintain tension on the towel constantly throughout the duration of the exercise.
- Perform the exercises slowly to maximize the effect.
Without further ado – the programs:
Monday – Chest and Biceps Day (passively working triceps and shoulders as well)
Chest & Biceps Tracking Form
(Print this form and track your progress!)
Chest and Biceps day is designed to work on your upper body. You’ll be working on strengthening your chest, shoulders, biceps and triceps (upper arms). Remember, if you struggle with something, just do your best, push yourself, and you’ll get stronger and better!
Equipment: 2 chairs / Broomstick / Countertop / Water / Towel
Warm up:
Hug Stretch – 20 seconds
Shoulder Circles – 20 seconds
Shoulder Stretch With Hands Clasped Behind The Back – 20 Second Hold
Forearm / Bicep Stretch – 15 seconds each side
- Pick a Number Push Ups – 2 sets hit your number – Shoulder width hands – alternate – knee pushups or wall pushups
- 1 minute break
- Dynamic Tension Bicep Curls – 2 sets – 10 repetitions
- 1 minute break
- Military Pushups – 2 sets – 10 pushups – alternate – Knee Pushups or wall pushups – hand and elbow positioning are key here
- 1 minute break
- Inverted Chin Curl – 2 sets
- 1 minute break
- Diamond Pushups – This is difficult, 2 sets – AMRAP (As many reps as possible)
- 1 minute break
- Countertop Edge Curl – Perform this similar to the dynamic tension curl above, but place your hands under the edge of a counter, palms up, grip edge of counter. Apply upward pressure and hold for a ten count (don’t break the counter!) This is an isometric hold that will help tax the already worked bicep muscle.
- 2 minute break
- REPEAT
Cooldown:
Hug Stretch – 20 seconds
Shoulder Circles – 20 seconds
Shoulder Stretch With Hands Clasped Behind The Back – 20 Second Hold
Forearm / Bicep Stretch – 15 seconds each side
Core Workout – See outline below
Tuesday – Cardio Day

Cardio day will be a welcome relief from day one’s resistance work, but we’re going to work your body in a different way today. We’ll incorporate the warmup into the routine, but we’ll slowly ramp up the intensity to get your heart pumping and your lungs working! Each exercise will be AMRAP (As Many Reps As Possible), so push yourself! Remember, if you struggle with something, just do your best, push yourself, and you’ll get stronger and better! Wear some good shoes for this, and make sure you’re doing this on a decent surface to help avoid injury or unnecessary stress to your body. Also, there are some jumping movements in this program, be sure to LAND SOFTLY.
Equipment: Water / Towel
- Hug Stretch – 15 Seconds
- Shoulder Circles – 15 seconds Forward
- Shoulder Circles – 15 seconds Backward
- Shoulder Stretch With Hands Clasped Behind The Back – Hold for 15 seconds
- 1 Minute Break
Phase 1
- Slow Jog in place – 30 seconds
- Jumping Jacks – 30 Seconds
- Seal Jacks – 30 Seconds
- Press Jacks – No Weights – 30 Seconds
- High Knees – 30 Seconds
- Mountain Climbers – 30 Seconds
- 1 Minute Break
Phase 2
- Fast Feet – 30 seconds
- Burpees – with or without pushup – 30 Seconds
- Touches – Toes, Knees, Hips, Hop – 30 Seconds
- Cross Body Punches – No Weights – 30 Seconds
- Speed Jab Cross Punches – 30 Seconds
- Inch Worms – 30 Seconds
- 1 Minute Break
Phase 3
- Air Jump rope – 30 seconds
- Arm Circles – Small – Forward – 30 Seconds – Back- 30 Seconds
- Arm Circles – Larger Circles – Forward – 30 Seconds – Back- 30 Seconds
- Knee to Elbow Twists – Left – 30 Seconds
- Knee to Elbow Twists – Right – 30 Seconds
- Jump Knee Tucks – 30 Seconds
- 1 Minute Break
Repeat Phases 1-3
Core Workout – See outline below
Wednesday – Back And Triceps
Back & Triceps Tracking Form
(Print this form and track your progress!)

The back is one of the largest muscle groups in the body. Training it equally to the work on the chest is important to avoid imbalances which can lead to postural issues and rounding of the shoulders which can lead to even longer term issues. A strong back is also essential to improving how much you can lift with many other upper body exercises. Equally important to back training is training the tricep (the back of your upper arms). Just as we want to balance the back to the chest, we also want to balance our biceps and triceps training for properly sculpted arms.
Equipment: Water / Towel / Chair / Paper Plates
Warmup:
Cat / Cow – 15 seconds
Dynamic twisting spine stretch – 15 seconds
Posterior Capsule Stretch – 15 seconds each arm
Child’s Pose – 30 seconds
- Pike Presses – 2 sets to failure – AMRAP (As many reps as possible)
- Chair Triceps Dips – 2 sets to failure – AMRAP (As many reps as possible)
- 1 Minute Break
- Back Widow – 2 sets to failure – AMRAP (As many reps as possible) – paper plates underneath elbows – pro-tip: furniture polish on the surface if the plates don’t slide well on the carpet
- Side Lying Triceps Extensions – Left Side – 2 sets to failure – AMRAP (As many reps as possible)
- Side Lying Triceps Extensions – Right Side – 2 sets to failure – AMRAP (As many reps as possible)
- 1 Minute Break
- Superman (or Superwoman!) – 2 Sets – 15 second holds x3
- Dynamic Tension Skull Crusher Tricep Extensions– 2 sets to failure – AMRAP (As many reps as possible)
Cooldown:
Cat / Cow – 15 seconds
Dynamic twisting spine stretch – 15 seconds
Posterior Capsule Stretch – 15 seconds each arm
Child’s Pose – 30 seconds
Core Workout – See outline below
Thursday – Flexibility
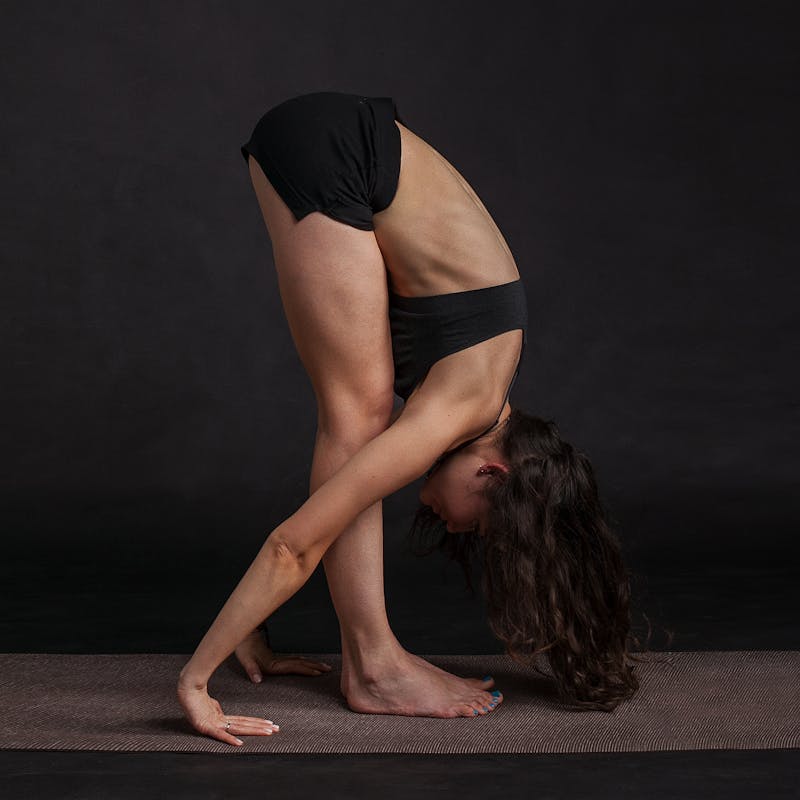
Flexibility is extremely important to your fitness as it helps ensure proper posture, increases joint mobility and decreases the possibility of pain and injury – That’s why we do a little of it before and after every resistance workout. Today, We’re going to devote an entire workout to it. There’s a little yoga in this one, so do your best, but realize that the people in some of the video examples I’ll be linking have probably been doing this a while. If you don’t look like them, that’s fine! Just try to, and if you’re stumbling and falling, that’s ok too. Just stay at it and you’ll improve – you’re going to leave this one feeling like a million bucks! Because this entire workout is about flexibility, there will be no warmup or cooldown, so let’s get to it!
Equipment: Water / Towel
- Sun Salutation A – 3 Repetitions (take it slow – 2-minutes per repetition)
- Neck Rolls – Alternate 10 Left, 10 Right
- Shoulder Rolls Forward – 10 Times
- Shoulder Rolls Back – 10 Times
- Posterior Capsule Stretch Left – 20 Second Hold
- Posterior Capsule Stretch Right – 20 Second Hold
- Triceps Stretch Left – 20 Second Hold
- Triceps Stretch Right – 20 Second Hold
- Bicep Stretch Left – 20 Second Hold
- Bicep Stretch Right – 20 Second Hold
- Cat / Cow – 15 Seconds Hold – 4 Times Cat, 4 Times Cow
- Forearm Stretch Left – 20 Second Hold
- Forearm Stretch Right – 20 Second Hold
- Dynamic Twisting Spine Stretch – 30 seconds
- Floor Scorpion Stretch – 10 Seconds Each Leg – 3 Repetitions
- Cobra Pose – 20 Second Hold – 3 Repetitions
- Downward Dog with Alternating Knee Bends – 20 Seconds
- Downward Dog – 20 Seconds
- Toe Touch – 30 Seconds – try to go lower with each exhale
- Quad Stretch Left – hold 15 seconds
- Quad Stretch Right – hold 15 seconds
- Standing Calf Stretch – 30 seconds alternating
- Side Lunge Left – 15 seconds
- Side Lunge Right – 15 seconds
- Figure 4 Stretch Left – 20 Second Hold
- Figure 4 Stretch Right – 20 Second Hold
Core Workout – See outline below
Friday – Leg Day
Leg Day Tracking Form
(Print this form and track your progress!)

People have a love / hate relationship with leg day. They either love it, or they hate it. Which one are you? Let’s find out!
Equipment: Water / Towel / Chair / Phone Book or Step (for calf work)
Warm up:
Touches – Toes, Knees, Hips, Hop – 15 seconds
Quad Stretch Left – hold 15 seconds
Quad Stretch Right – hold 15 seconds
Standing Calf Stretch – 30 seconds alternating
Side Lunge Left – 15 seconds
Side Lunge Right – 15 seconds
- Quads:
- Body Weight Squats – 30 second hold 3x – 30 second break between
- Pop Squats – 30 seconds AMRAP (as many reps as possible) – 3x – 30 second break between
- Sumo Squats – 30 second hold 3x – 30 second break between
- Glutes (The Booty!) / Hamstrings:
- Glute Kickback Left – 15 second hold, 15 second pulse 3x – 30 second break between
- Glute Kickback Right – 15 second hold, 15 second pulse 3x – 30 second break between
- Glute Bridges – 30 second hold and squeeze 3x – 30 second break between
- Step-Up To Chair – 30 seconds 3x – 30 second break between
- Calves:
- Body Weight Calf Raises – neutral foot – 30 seconds AMRAP (as many reps as possible) – 3x – 30 second break between
- Body Weight Calf Raises – toes out – 30 seconds AMRAP (as many reps as possible) – 3x – 30 second break between
- Body Weight Calf Raises– toes in – 30 seconds AMRAP (as many reps as possible) – 3x – 30 second break between
Cooldown:
March in Place – 30 seconds
Toe Touch Hold – 30 seconds
Quad Stretch Left – hold 15 seconds
Quad Stretch Right – hold 15 seconds
Standing Calf Stretch – 30 seconds alternating
Side Lunge Left – 15 seconds
Side Lunge Right – 15 seconds
Core Workout – See outline below
Core Workout

Core is a nonstop workout from one movement to the next and we’ll be hitting it daily! The abs are a little different than the other muscle groups in your body, so they can take it! This is a beginner workout, so we’ll give them the weekends off and since we’ll be hitting them daily, the workout is only 6 minutes long start to finish. That doesn’t mean it’ll be easy! We’ll hit upper core, lower core, lower back and obliques (the side muscles of your stomach) The core program looks like this:
- Sit-ups – AMRAP (as many reps as possible) for 30 seconds
- Leg Raise Hold – 30 Seconds – 3 reps
- Superman (or Superwoman!)– 3 – 10 second holds
- Crunches – AMRAP for 30 seconds
- Plank – 30 second hold – advanced move – add alternating shoulder taps
- Side Plank Left – 15 second hold
- Side Plank Right – 15 second hold
- Low plank – 1 minute hold – advanced – add hip dips
- Side Jackknives Left – AMRAP 30 seconds
- Side Jackknives Right – AMRAP 30 seconds
- Bicycle Crunches – AMRAP 30 seconds
Cooldown:
- Child’s Pose – walk the hands over left, place right hand on left hand. Repeat with right side. Hold for 30 seconds each side
- Cobra Pose Hold for 30 seconds each side
- Cat / Cow 30 seconds
That’s it!
You’ve now got the tools you need to make some positive changes in your life. But I won’t leave you without a few more tips and tools:
- Track Your Progress! Seriously, download the resistance workout tracking forms here: Chest & Biceps Tracking Form , Back & Triceps Tracking Form , Leg Day Tracking Form print them out and after each exercise, write down what you did, how many, and challenge yourself to do better next time!
- Get Your Sleep – remember that energy we talked about when discussing nutrition? This will help a LOT with that, and recovery
- Don’t Cheat yourself! Eating that post workout cookie or doughnut, or splurging on a cheat meal the day of or after your work out because you “earned it” isn’t doing you any favors! Quite the contrary, remember all that information about nutrition that we covered earlier? That’s not just fluff talk. Your body needs that to help it rebuild. So don’t sabotage your workouts by putting a bunch of junk in your body. Remember, you’re in this for the long-haul. (and you probably thought when I said this was going to be hard, I meant moving the weight!)
- Take your after pics! Trust me, the changes are gradual, you may look in the mirror in 60 days and think “nothings changed”, or you may look in the mirror and think “Wow! What a difference” but in either case, nothing will show you the changes better than being able to compare your pre and post pictures. Also, as you continue down this fitness path, taking more “after pictures” as you progress will give you an even more incredible visual path to follow your progress.
- Find something you love. This is just a beginner program, and while I’m pretty proud of it and think it will deliver some solid results, I know repetition can get boring. Explore your community for other fitness options based on the things you liked from this workout. Look into gym memberships, take a yoga class, join a runners or cycling group, start hiking, take up boxing or a martial art – whatever floats your boat! But find something that you’re passionate about and run with it. the dividends it will pay off are MORE than worth it.
You’ve made it this far, don’t stop now!
If you’ve made it this far, you’re clearly pretty serious about this, don’t let this be “just another article I read”. Follow the program, 5 days a week, clean up your eating habits, track your progress, and do this for 60 days. You’ll see a difference. You’ll form a new habit, one that will stick with you throughout your entire life if you let it. Let me know how it goes, If you feel like sharing your before / after pics, I’d love to see your progress! Good luck!
Know someone who might like this? Please share it with them, or via your social media network, it helps the blog out, and you never know who you might be responsible for motivating to live a healthier lifestyle!
RESOURCES:

5 thoughts on “Looking To Get Started On A Path To Fitness? This Beginner Fitness Routine Should Help Guide The Way!”